How Do You Remove Tint Without Damaging Defrosters?
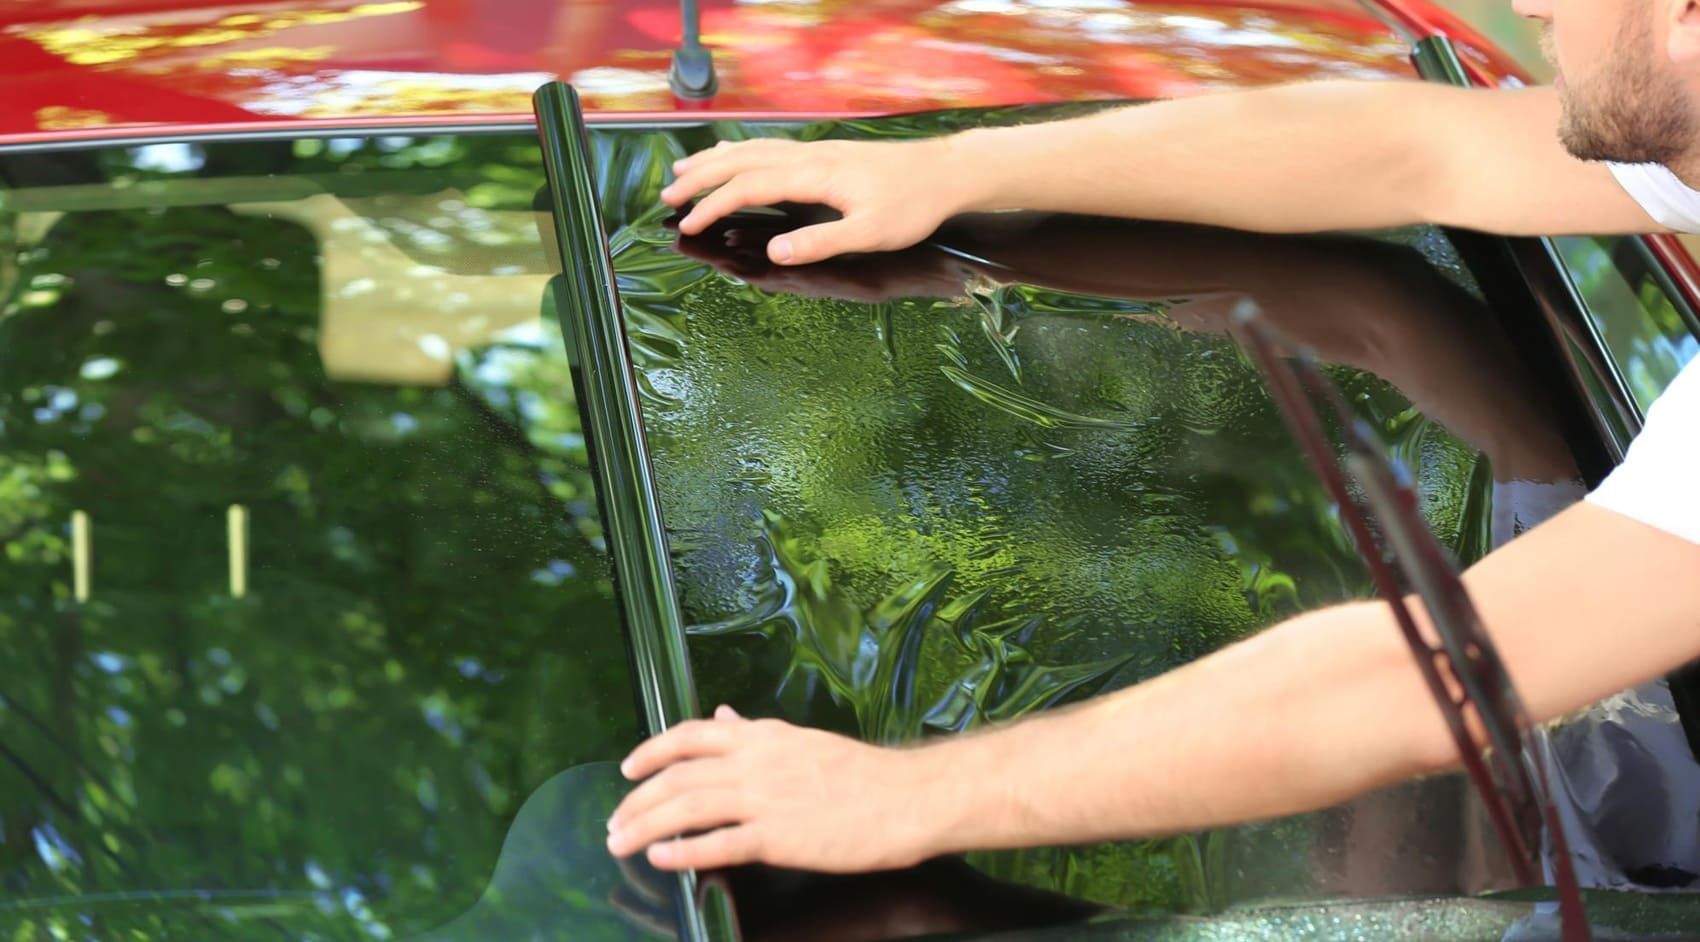
Old window tint rarely peels off like a sticker, especially in Tampa’s heat. Sun and humidity bake the film’s adhesive into the glass, so the tint tears, leaves glue behind, and turns a quick DIY into an afternoon project. The rear window is where most people get into trouble. Those thin horizontal defroster lines are delicate electrical traces bonded to the inside of the glass. Scraping with a razor, pulling the film too aggressively, or using the wrong chemical can lift or break the lines and permanently reduce rear defrost performance. That can mean slower clearing after rain, more fogging on cool mornings, and poorer visibility on I 275 and local roads. The safest approach is controlled softening, patient peeling, and gentle adhesive cleanup that follows the direction of the grid. In this guide, you’ll learn proven methods to remove tint without damaging defrosters and when to call a professional.
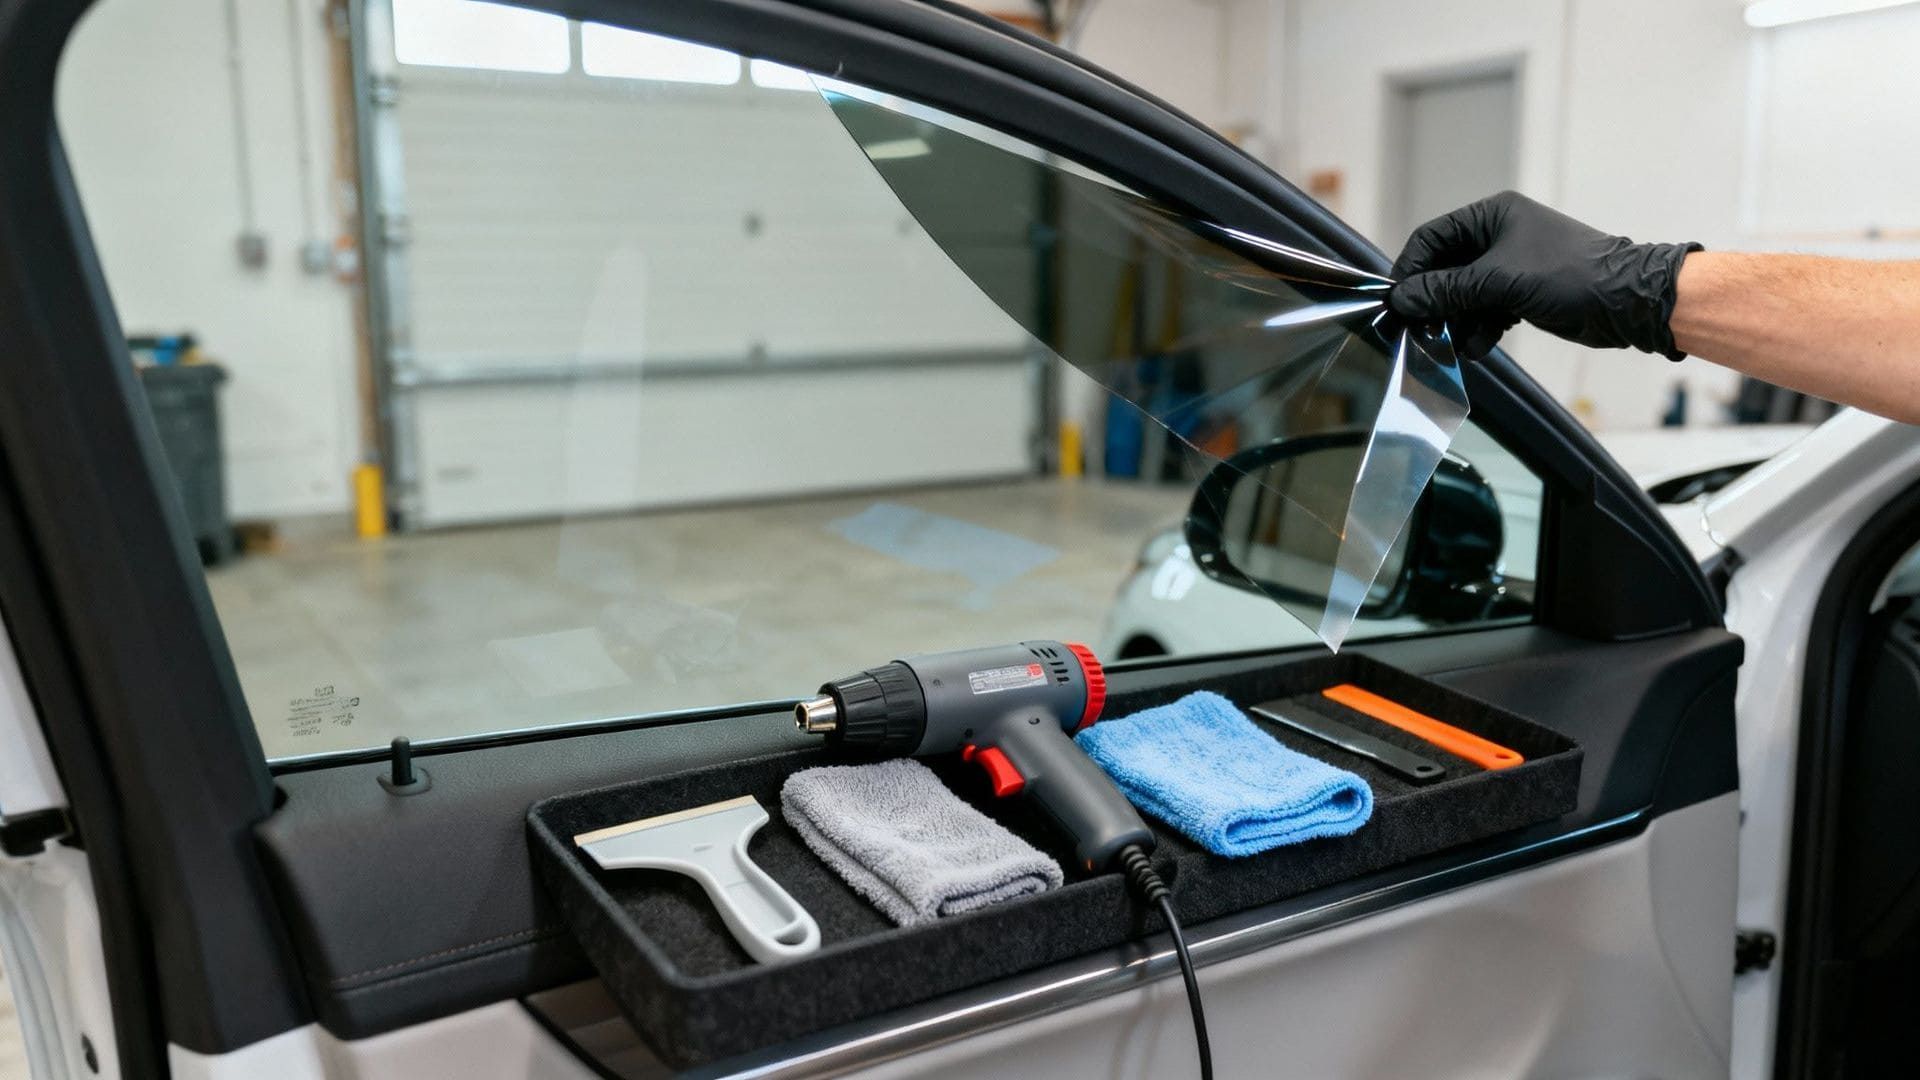
Table of Contents
1. Why tint gets difficult to remove over time
2. Rear defroster lines: what they are and why they fail
3. Safe tint removal methods for rear defrosters
4. Comparison table: heat, steam, ammonia, professional
5. Tools, products, and adhesive cleanup techniques
6. DIY vs professional: when to seek help in Tampa
1. Why tint gets difficult to remove over time
To understand rear defroster tint removal , it helps to know how tint is built and installed. Automotive tint is a polyester film with layers that provide UV protection, glare reduction, and heat rejection. The film is installed on the inside of the glass using a pressure sensitive adhesive. During installation, a slip solution helps position the film, then a squeegee pushes out moisture so the adhesive bonds evenly.
Over months and years, that adhesive changes. In Tampa and surrounding areas, high UV exposure plus heat cycling can dry out the film, make it brittle, and weaken the bond between the film layers. When tint fails, it often separates into two problems:
- Film failure : bubbling, discoloration, haze, or purple tint.
- Adhesive failure : sticky residue that stays on the glass when the top layer peels away.
Rear windows are tougher than side windows because they are usually more curved and may have thicker adhesive build up near edges. Add defroster lines and you get a high risk area where scraping can cause electrical damage.
Featured snippet tip: The safest general rule is simple. Soften first, peel slowly, then remove adhesive with gentle wiping that follows the direction of the lines.
2. Rear defroster lines: what they are and why they fail
Rear defroster lines are thin conductive traces printed or bonded onto the inside surface of the rear glass. When you switch on rear defrost, electricity travels through those traces and heats the glass so moisture clears faster. In Florida, that matters most during rainy season, cool mornings, and sudden temperature changes after storms.
Defroster lines are sensitive because they sit on the surface. They can be damaged in three common ways during tint removal:
- Mechanical abrasion from blades, scrapers, scouring pads, or stiff brushes.
- Tension damage when tint is pulled upward at a steep angle and the adhesive grips the line.
- Chemical or heat stress when strong solvents soak too long or heat is concentrated in one spot.
If a line breaks, the defroster may clear in stripes or stop working in sections. Repair kits exist, but they are not always invisible or long lasting. That is why the goal is to remove window tint without damaging defroster lines in the first place.

3. Safe tint removal methods for rear defrosters
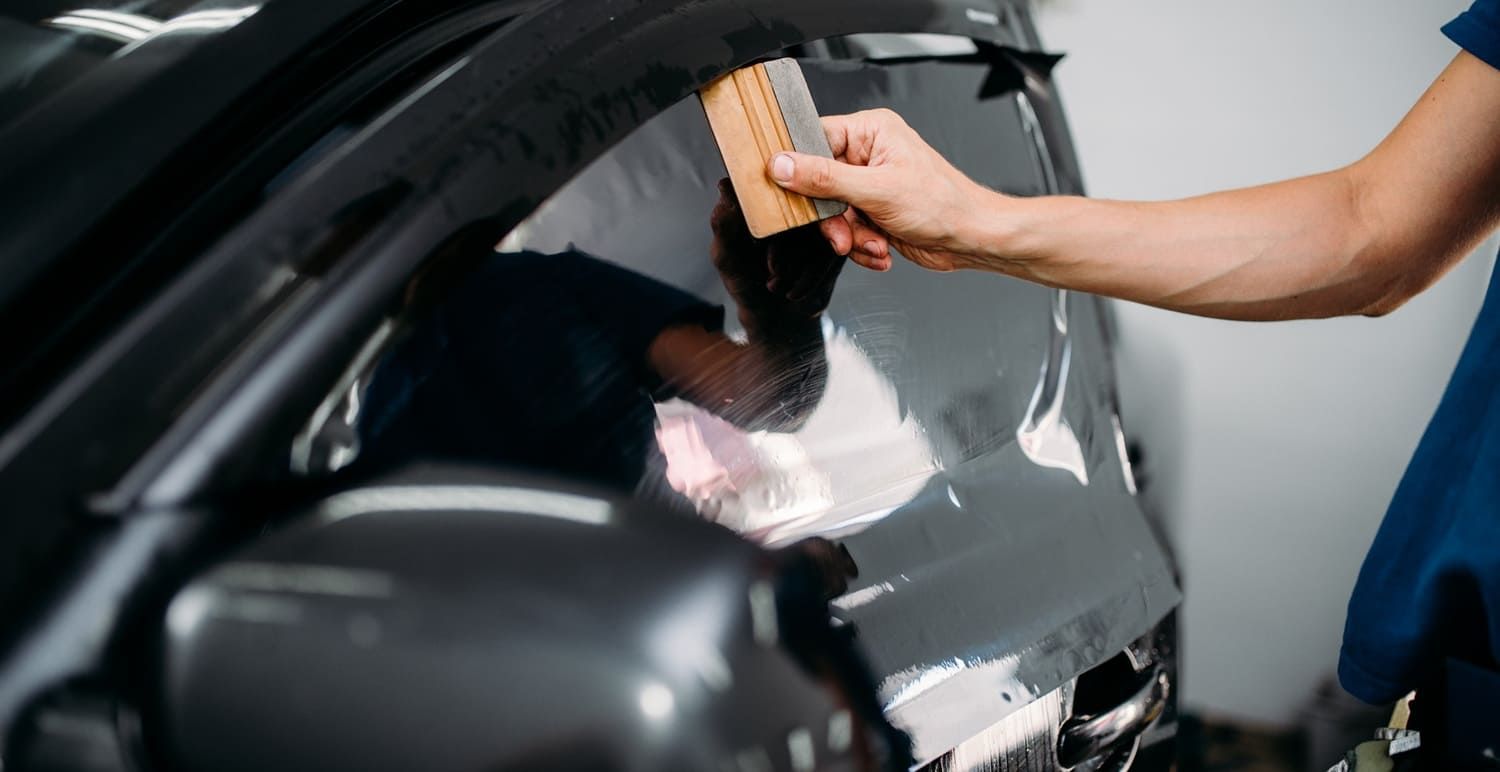
The best safe tint removal methods share one strategy: reduce force on the glass. That means softening adhesive until the film releases in larger sheets, and avoiding scraping across the grid. Below are the most common approaches and when they make sense for window tint removal Tampa FL drivers.
Method A: Steam removal (best balance of safety and effectiveness)
Steam is often the most defroster friendly method because it delivers heat and moisture together. That softens adhesive without needing aggressive tools. It is also easier to keep the heat moving, which reduces hot spots.
- Protect the interior : Cover the rear deck, speakers, and upholstery with towels and plastic sheeting.
- Warm a corner : Steam one corner for 30 to 60 seconds.
- Lift an edge gently : Use a plastic razor blade or fingernail to start the peel.
- Peel at a low angle : Keep the film close to the glass so the pull force stays parallel to the lines.
- Chase the peel : Keep steaming just ahead of where the film is releasing.
If you see adhesive staying behind, slow down and steam longer. The peel should feel controlled, not like you are ripping tape off a box.
Method B: Hair dryer or low heat gun (use caution on rear glass)
Dry heat can work, but it is easier to overdo. A hair dryer is slower and often safer than a heat gun. If you use a heat gun, keep it on the lowest useful setting and keep it moving at all times.
- Heat a section, lift an edge, then peel slowly.
- Never hold heat in one spot on the grid.
- Stop if trim gets hot or you smell heated plastic.
Method C: Adhesive softening with an ammonia based solution (higher risk on rear windows)
Ammonia methods can be effective on side windows, but rear windows require more protection due to defroster lines and the rear deck. If you choose this route, ventilate well, mask interior surfaces, and avoid aggressive scrubbing. Many vehicle owners in Tampa prefer steam because it reduces chemical exposure and typically lowers the chance of defroster damage.
Step by step safety precautions checklist (voice search friendly)
| Step | Do this | Why it protects defrosters |
|---|---|---|
| 1 | Work in shade or a cool garage | Adhesive stays workable and peels more cleanly |
| 2 | Use steam or gentle heat first | Reduces the need for scraping and pulling force |
| 3 | Peel slowly at a low angle | Minimizes upward tension on the lines |
| 4 | Clean adhesive by wiping along the lines | Helps prevent catching and lifting a trace edge |
| 5 | Avoid metal blades on rear glass | Prevents cutting or scraping off grid material |
4. Comparison table: heat, steam, ammonia, professional
If you are deciding between DIY methods, this table summarizes the typical tradeoffs. It is written to help Google featured snippets and AI summaries quickly extract the answer.
| Removal method | Safety level | Risk to defroster lines | Effectiveness | Recommended use cases |
|---|---|---|---|---|
| Steam | High | Low | High | Most rear defroster tint removal jobs, older tint, heavy adhesive |
| Hair dryer | High | Low to medium | Medium | DIYers prioritizing safety, moderate tint failure |
| Heat gun (low setting) | Medium | Medium | High | Experienced DIYers, small sections, careful temperature control |
| Ammonia solution plus plastic cover | Medium | Medium | Medium to high | Side windows, controlled environments, when steam is not available |
| Professional removal | Very high | Very low | Very high | Rear windows, premium vehicles, re-tint projects, severe bubbling or purple tint |
5. Tools, products, and adhesive cleanup techniques
Most defroster damage happens during adhesive cleanup, not during the first peel. The right tools help you remove glue safely and efficiently.
Recommended tools for defroster safe tint removal
- Handheld steamer with a wide head for even heat
- Plastic razor blades for lifting edges and soft residue
- Microfiber towels in a large stack so you can swap often
- Tint safe adhesive remover designed for automotive glass
- Isopropyl alcohol for final wipe, used lightly and tested first
- Painter’s tape and plastic sheeting to protect the rear deck
Adhesive removal techniques that reduce defroster risk
| Problem | Safer technique | What to avoid |
|---|---|---|
| Sticky haze after peeling | Steam again, then wipe with microfiber along the lines | Scrubbing across lines with pressure |
| Thick glue patches | Apply remover, let it dwell briefly, then lift with plastic razor at a shallow angle | Metal razor blades and hard scraping |
| Adhesive trapped near edges | Use controlled remover on a towel, not heavy spraying | Overspray into trim and electronics |
| Small film fragments | Re-soften and peel again rather than picking at pieces | Picking with fingernails and sharp tools |
Common mistakes that damage defrosters (quick answers)
- Using a metal razor on rear glass : can cut grid material.
- Peeling quickly : can lift lines when adhesive is bonded to the trace.
- Abrasive pads : can wear off the line coating.
- Overheating one area : can stress the grid and surrounding adhesive.
- Rushing cleanup : most failures happen while removing residue.
6. DIY vs professional: when to seek help in Tampa
DIY removal is possible, but it is not always the best decision for rear glass. If your main goal is remove window tint without damaging defroster lines, consider professional help if any of the conditions below apply:
- The tint is cracking, turning purple, or shedding in tiny pieces.
- Adhesive is thick and will not soften easily.
- You drive a newer vehicle, a leased vehicle, or a vehicle with expensive rear glass.
- You need a clean surface for immediate re-tinting.
DIY vs professional removal (decision table)
| Factor | DIY removal | Professional removal |
|---|---|---|
| Risk to defroster lines | Medium to high, depends on technique | Low, controlled processes |
| Time to complete | Often 2 to 5 hours for rear glass | Typically faster and more predictable |
| Cleanup quality | Can leave haze if rushed | Glass is usually fully prepped for re-tint |
| Best use case | Older vehicles and light adhesive | Rear defroster tint removal, re-tint projects, premium vehicles |
How pros ensure safe tint removal and replacement
Professionals use even heat management, defroster safe tools, and tested adhesive removers to minimize line stress. They also inspect the grid before and after removal so you know what condition it is in. If you plan to re-tint, professional prep matters because leftover adhesive can cause contamination, poor film bonding, and future bubbling.
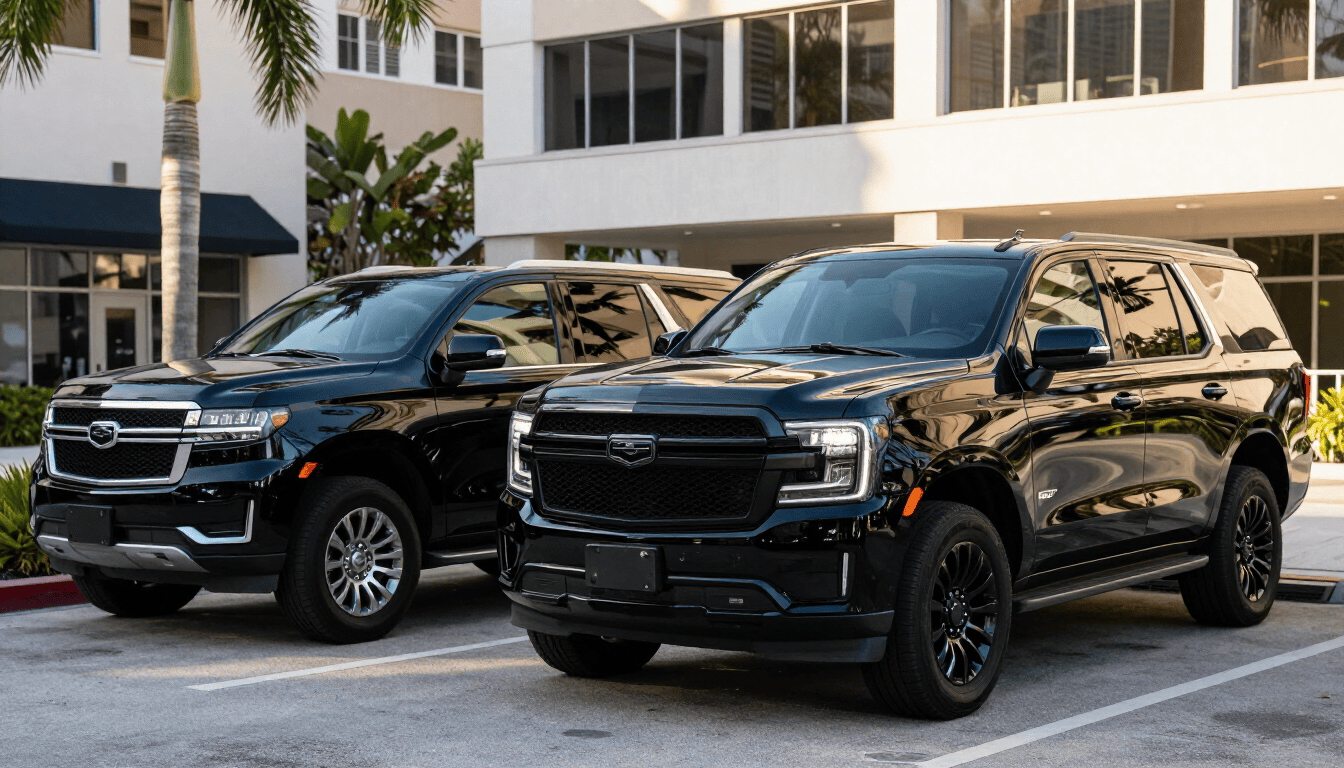
Leo’s Touch Window Tinting provides window tint removal Tampa FL services designed to protect rear defroster components. We also install LLumar FormulaOne window tint products, so your replacement film is built for performance, clarity, and long term durability in Florida sun.
FAQ: Removing tint without damaging defrosters
Can defroster lines be repaired if they are damaged?
Sometimes. Conductive repair kits can restore function, but results vary and repairs may be visible.
How long does rear window tint removal take?
DIY can take 2 to 5 hours depending on film age and adhesive. Professionals are usually faster.
What is the safest method to remove tint from a rear defroster?
Steam is often the safest and most consistent for rear defroster tint removal.
Is it safe to use a razor blade on a rear window?
Metal blades are risky on rear defroster glass. Plastic razor blades are much safer.
What is the best way to remove adhesive without harming defrosters?
Soften adhesive first, then wipe gently along the lines with microfiber. Repeat as needed.
Do ammonia solutions damage defroster lines?
They can increase risk if used with scrubbing or overspray. Steam is usually lower risk.
Can a heat gun ruin defroster lines?
It can if overheated or held in one spot. Use low heat and keep it moving, or use steam.
Why does tint come off in little pieces?
UV and heat can make the film brittle so it tears instead of releasing as a sheet.
What household products should I avoid?
Avoid abrasive pads and harsh solvents that are not intended for automotive glass and tint adhesive.
How much does professional window tint removal cost in Tampa, FL?
Cost depends on vehicle type, film condition, and whether you are re-tinting. A shop can quote after inspection.
Should I remove tint before selling my car?
If the tint is bubbled or purple, removing and replacing can improve appearance and buyer confidence.
How do I prepare my vehicle for tint removal?
Clear the rear deck, protect speakers and trim, and plan for ventilation if any chemicals will be used.
Is DIY removal worth it?
It can be, but DIY mistakes can be costly if defrosters are damaged or cleanup is incomplete.
How soon can I install new tint after removal?
As soon as the glass is clean, residue free, and fully dry, new tint can be installed.
What tint should I choose after removal?
High quality film helps prevent early failure. Leo’s Touch Window Tinting installs LLumar FormulaOne Auto Window Tint options matched to your vehicle and driving needs.
Conclusion and CTA
Removing old film from rear glass takes patience because the defroster grid is delicate and easy to damage. If you want to remove window tint without damaging defroster lines, use controlled softening, peel slowly at a low angle, and clean adhesive by wiping along the lines. Steam based removal is often the best combination of safety and results for Tampa area vehicles.
Need help or want the lowest risk option? Contact Leo’s Touch Window Tinting for a free estimate . We provide expert window tint removal Tampa FL service and can replace your film with LLumar FormulaOne window tint for long lasting comfort, UV protection, and clean visibility tailored to your vehicle.